You can sync and query files and folders from Google Cloud Storage (GCS) in PostHog by setting up a link.
Step 1: Creating a bucket in GCS
- Go to your Google Cloud console.
- Create a bucket in GCS.
- For location, we recommend choosing
us-east1for US Cloud oreurope-west3for EU Cloud to keep them close to our servers. - For storage class, choose
Standard. - For access control, choose
Uniform.
- For location, we recommend choosing
- Upload your data to the bucket. This can be as simple as a
.csvfile like this:
Step 2: Set up a service account
GCS uses service accounts to control access to resources. We need one to connect to GCS. To create one:
- Go to the service accounts page in the GCS console and click Create service account.
- Fill in the account name and ID and click Create and continue.
- Grant the account the Storage Object User role.
- Click Done.
Step 3: Set up access keys.
- Go to the cloud storage settings page and click the Interoperability tab.
- Click Create a key for another service account.
- Select the service account you created in step 2 and click create key.
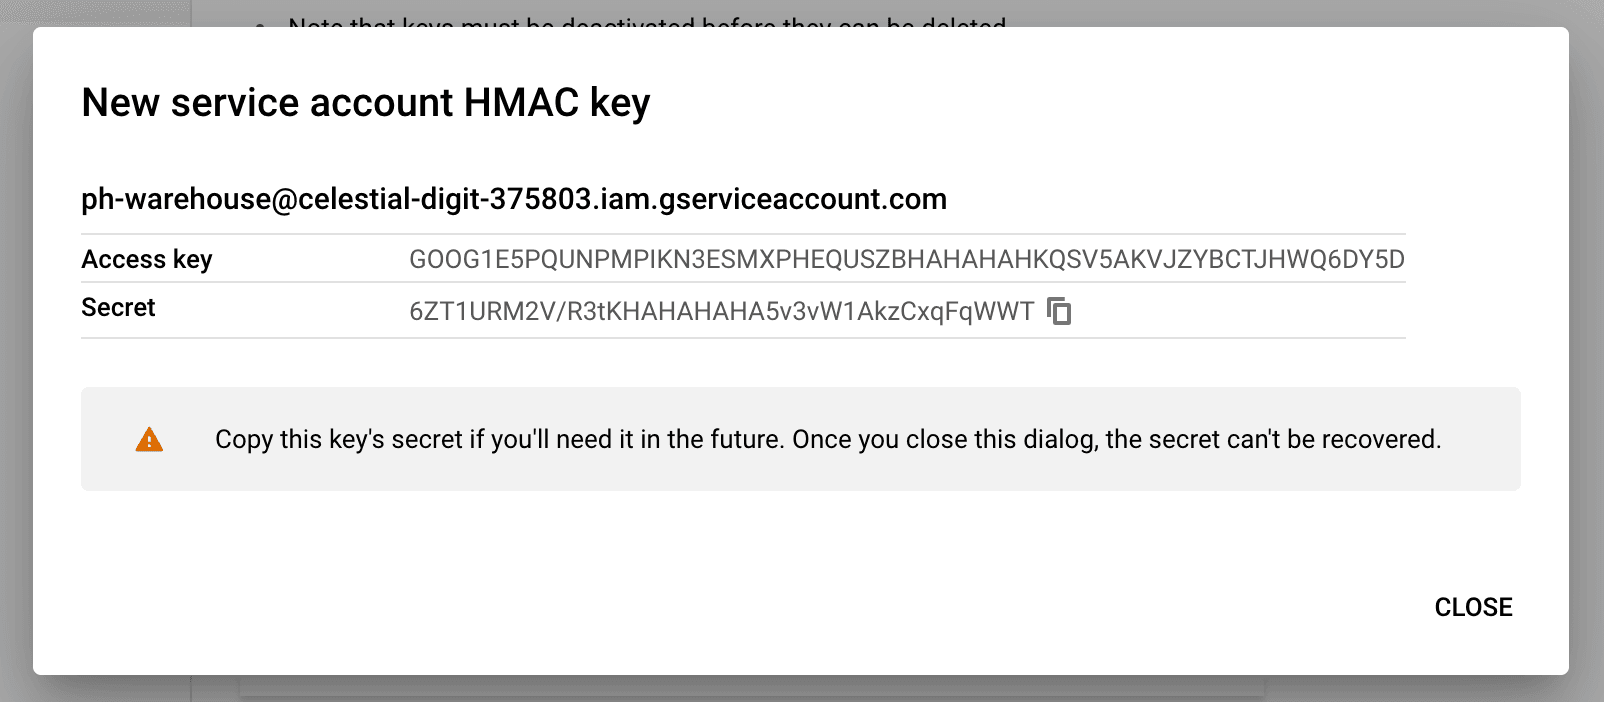
- Copy both the access key and secret. Save them some place safe because you'll need to regenerate them if you lose them.

Step 4: Create the table in PostHog
- In PostHog, go to the data warehouse tab and click Link source
- Under self managed, look for Google Cloud Storage and click Link
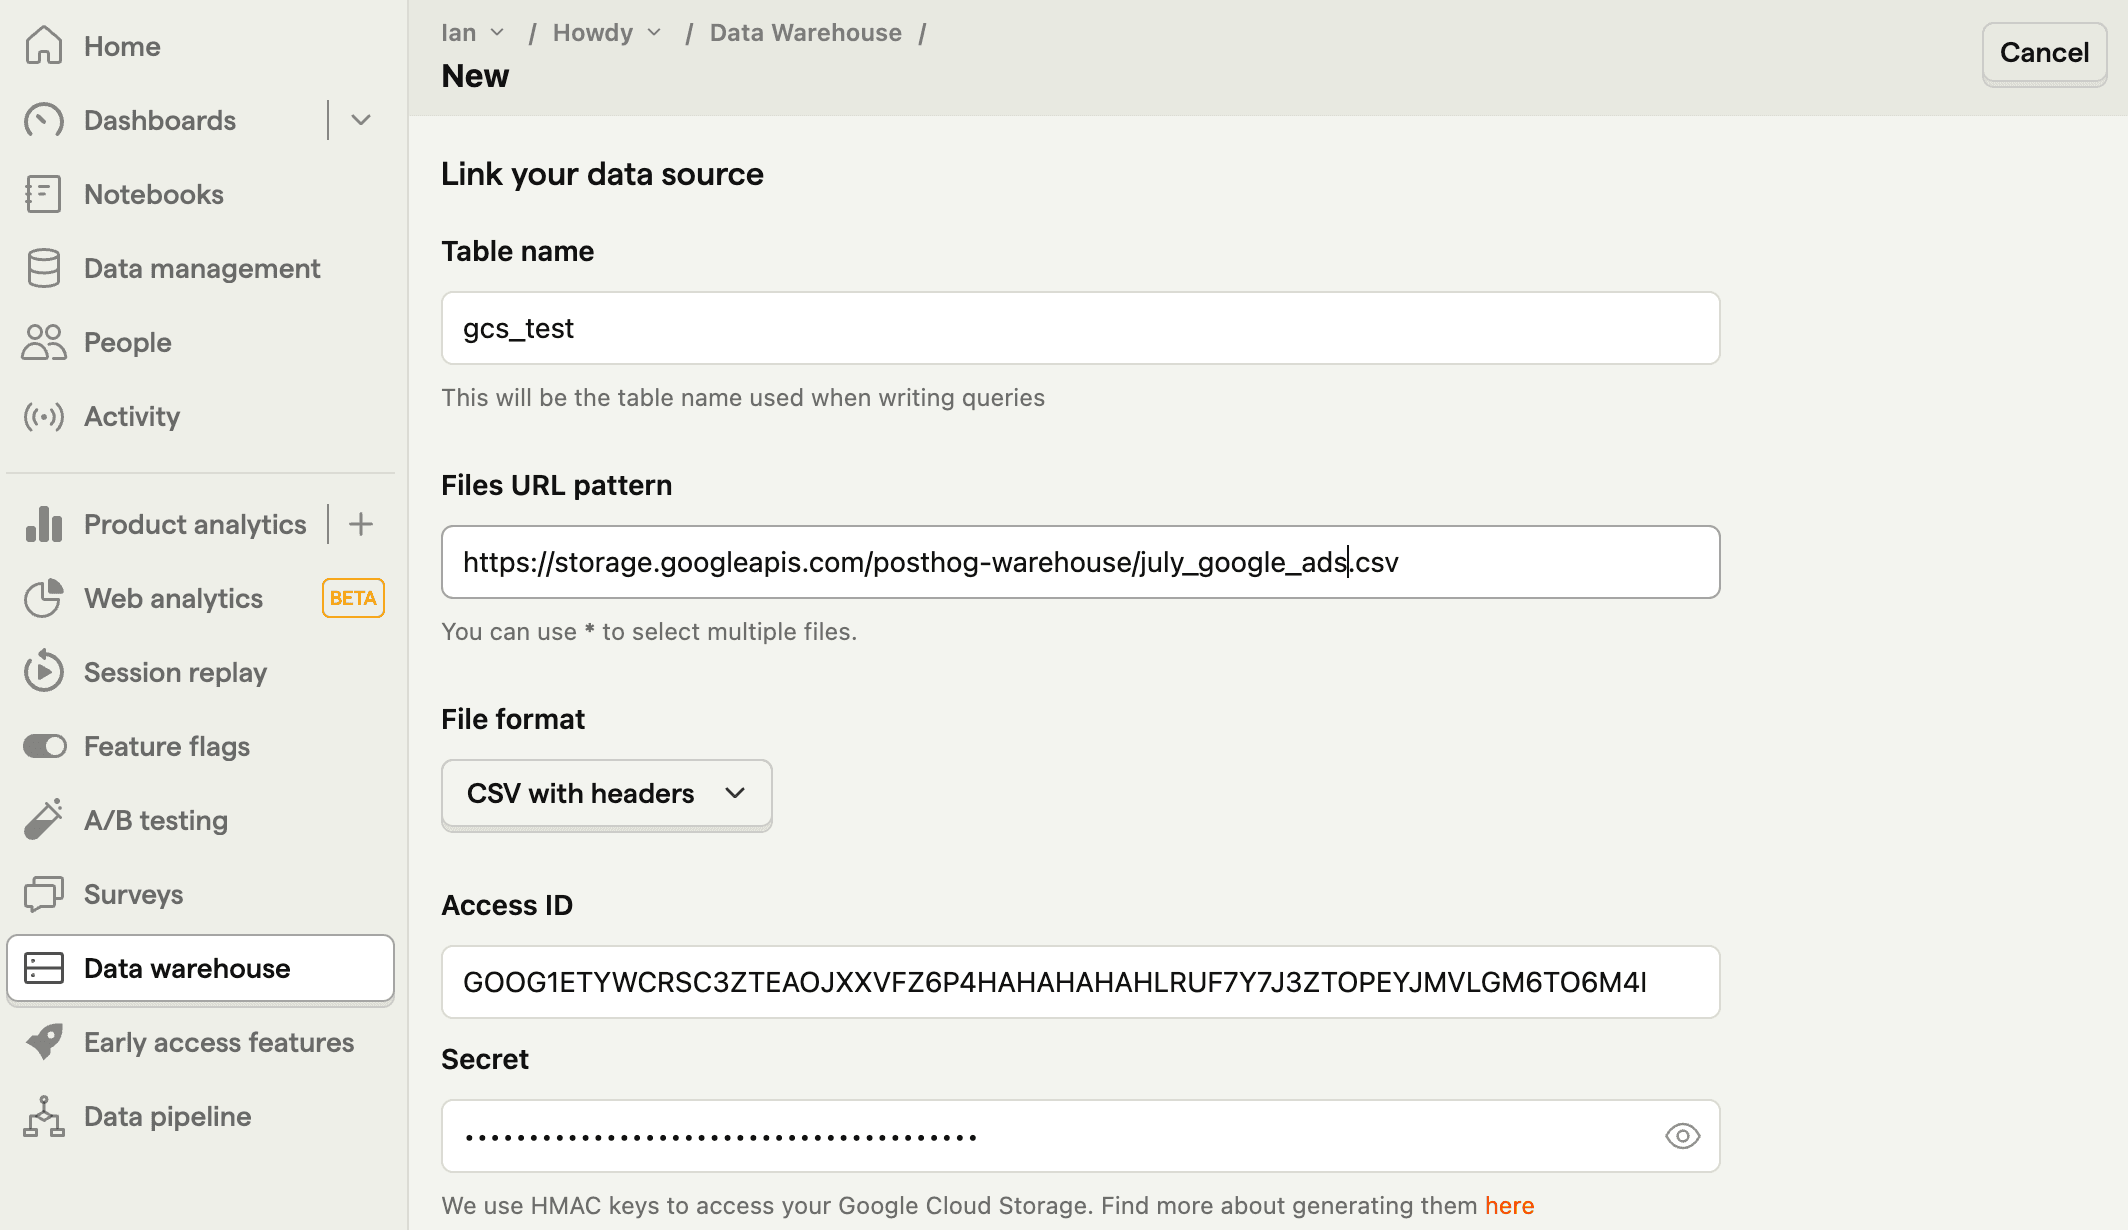
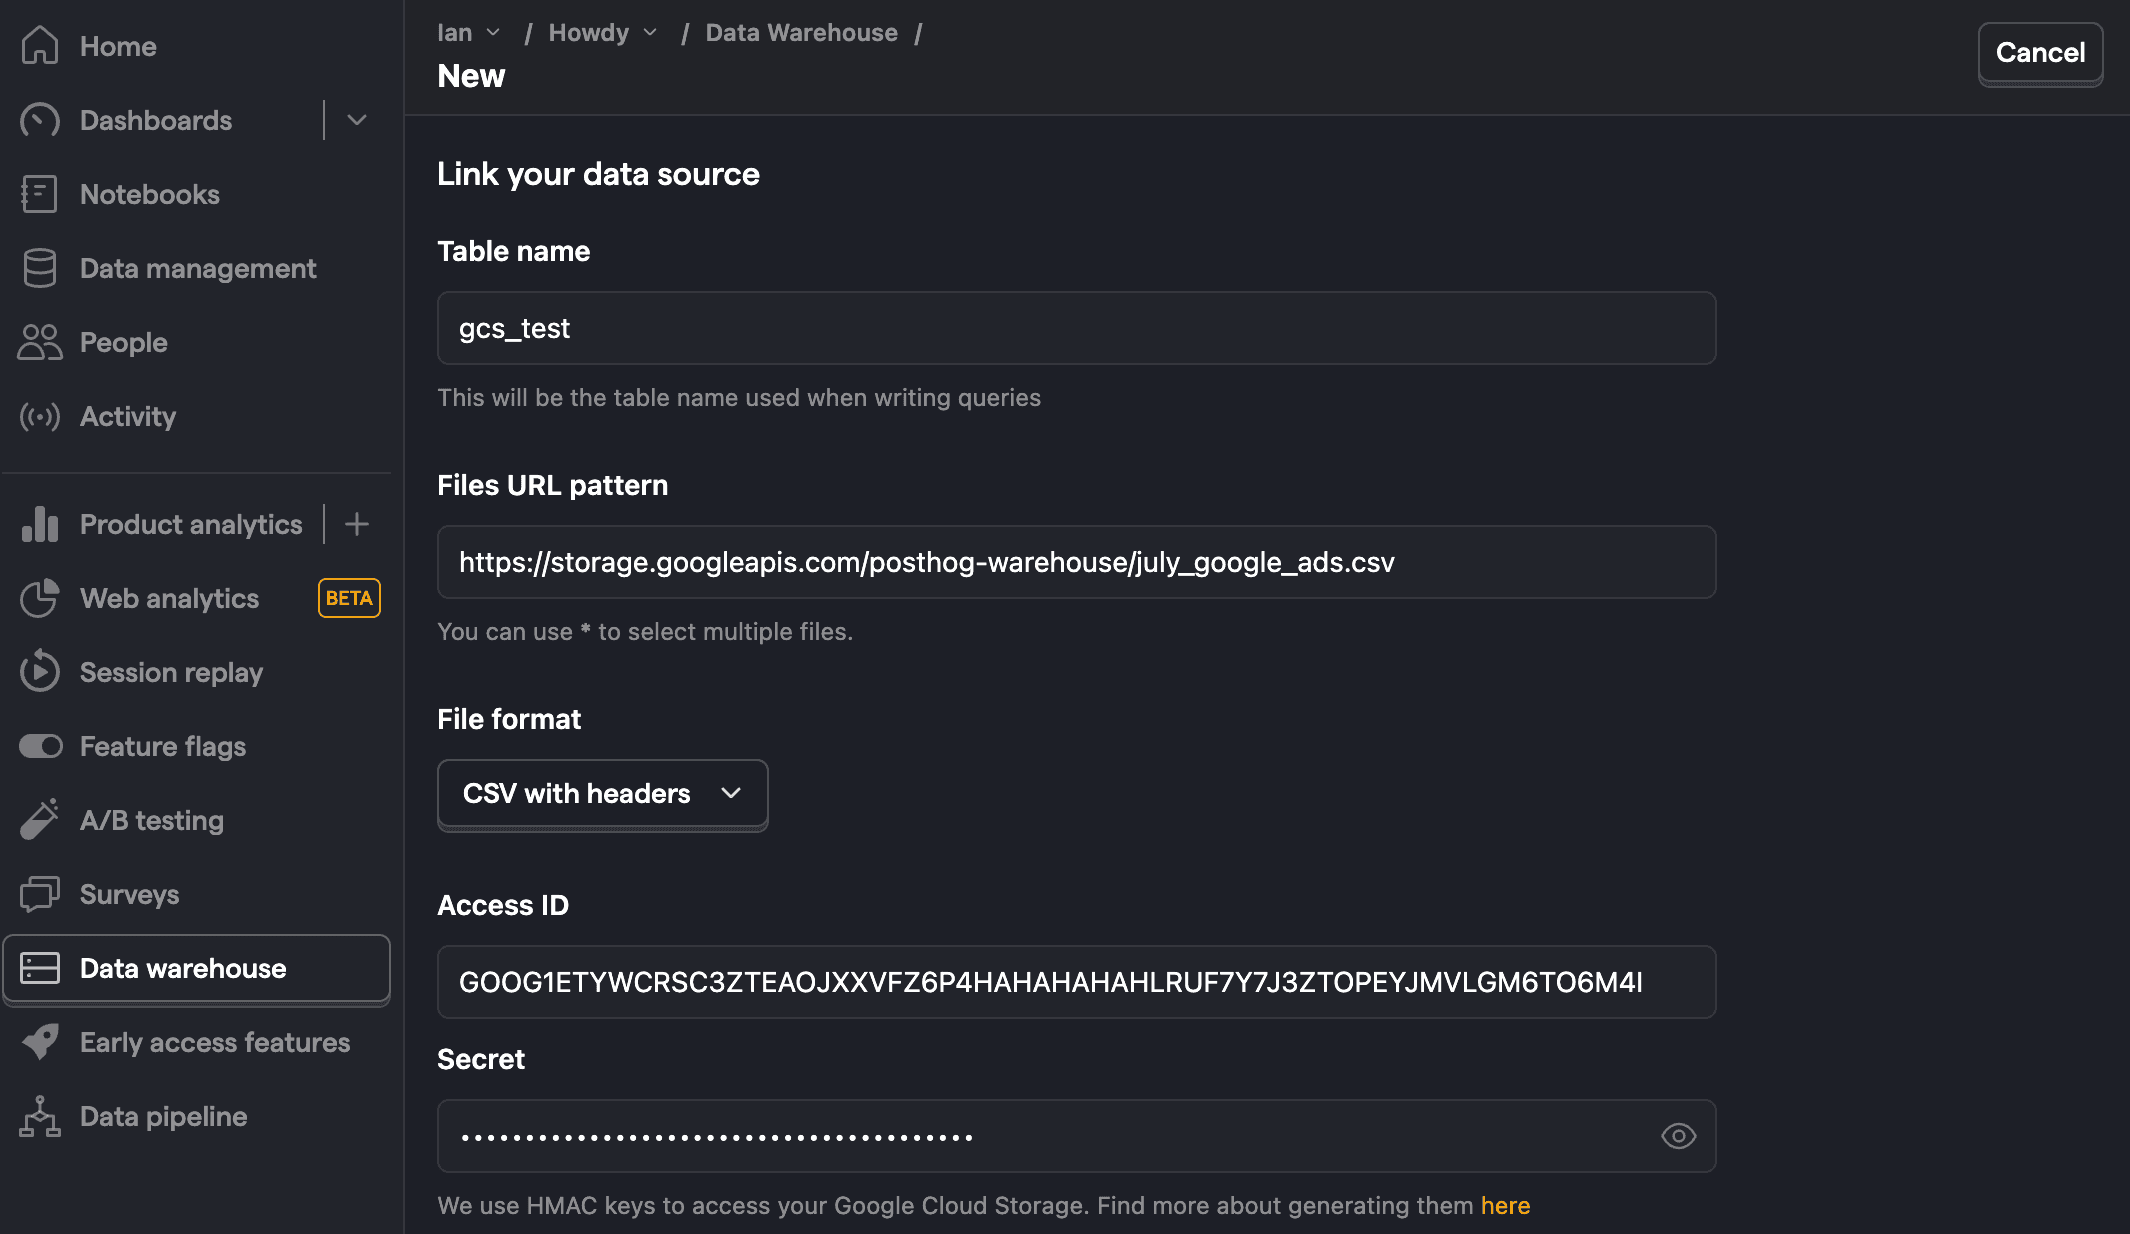
- Fill the table name, then use the data from GCS:
- For files URL pattern, use
https://storage.googleapis.com/followed by your bucket and file or folder name likehttps://storage.googleapis.com/posthog-warehouse/july12_google_ads_fixed.csv. You can also use*to query multiple files. - Chose the correct file format
- For access key, use your Access Key ID
- For secret key, use your Secret Access Key
- For files URL pattern, use
- Click Next


Step 5: Query the table
Once it is done syncing, you can now query your new table using the table name.